
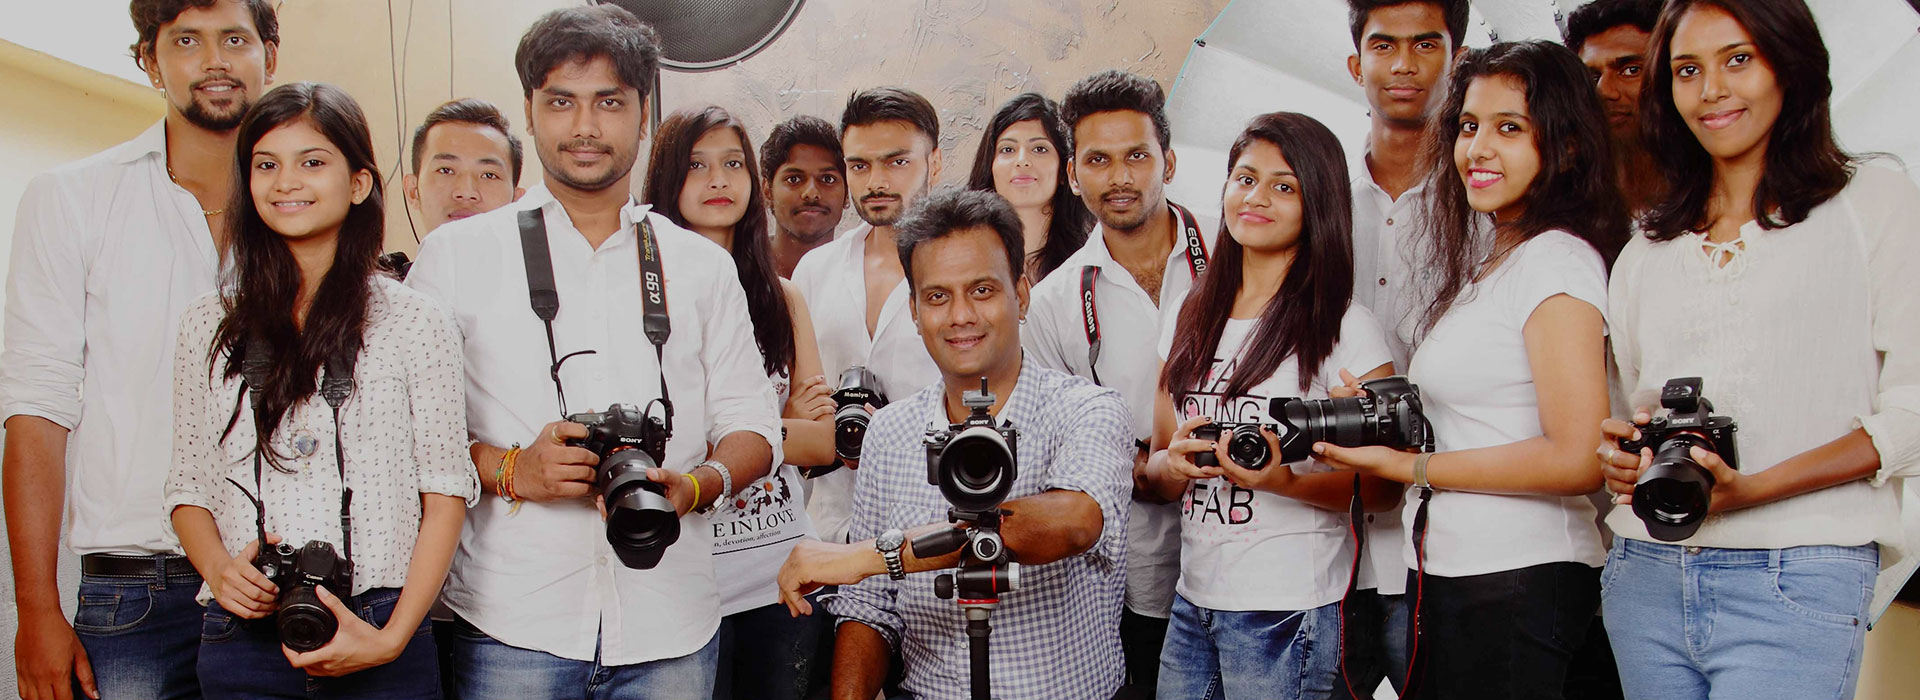
Mentored by Ace Photographer
Karthik Srinivasan
Mentored by Ace Photographer
Karthik Srinivasan
Mentored by Ace Photographer

Mentored by Ace Photographer
Mentored by Ace Photographer
Mentored by Ace Photographer
Posted on: June 17, 2017 at 6:50 am


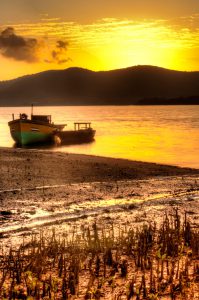
High Dynamic Range, or HDR imaging has really caught on with amateurs and professionals alike. Lets understand ‘dynamic range’ before we get into HDR. Be it a photo film (negative) or a digital sensor, there exists a ‘latitude’ of the image which simply defines the highest and lowest tones recorded. Generally, film has higher latitude than a digital sensor, but nevertheless, there are limits. So, the range of recordable tones of a photograph can be called its dynamic range.
Now, imagine you were shooting a really high contrast scene, say for example a car against a sunset. Where do you meter from? If you meter for the shadow area, you’d end up over exposing the sun, and if you meter for the sunset you’d get a silhouette in most cases. This is the ideal situation to apply HDR. Take for example this image of a boat at twilight.
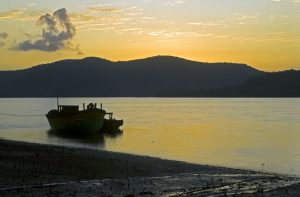
As you can see, the exposure has captured the sunset, but the boat itself is in shadow area. To get both into the exposure range, the classic way to shoot HDR is to shoot usually 3 exposures while your camera is mounted on a tripod – one image metered for shadow, one for highlights and one for mid tone. Alter exposure use shutter speed stops so as not to change depth of field. Once we have these 3 images, we combine them to create a stunning HDR. This can be done on Photoshop, or dedicated software such as Photomatix. You could also shoot a single image in RAW mode and create the 3 variations, but better results are obtained from 3 different exposures.