

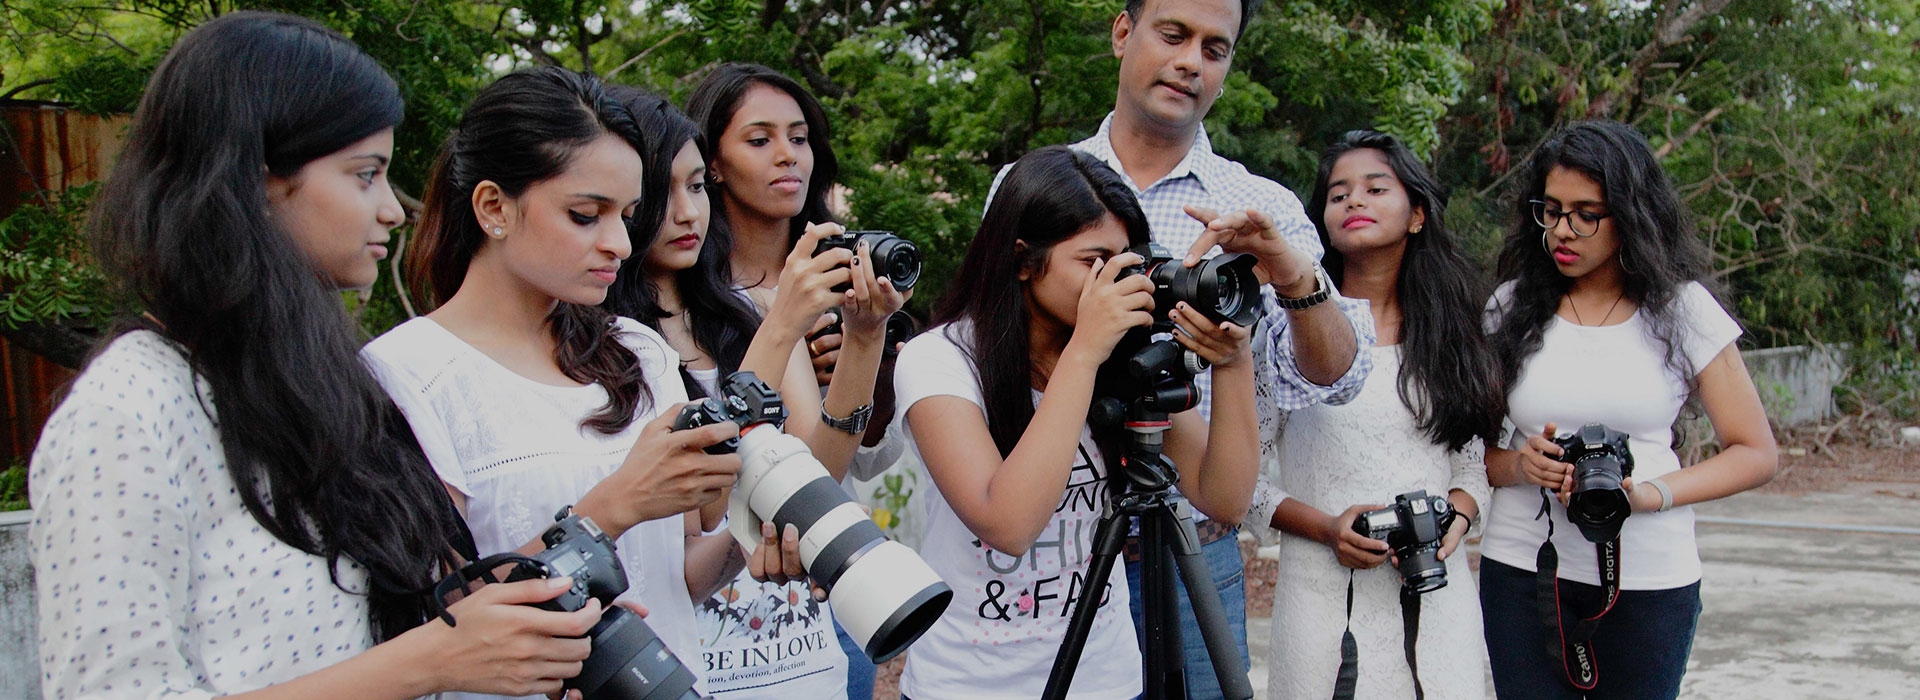
Mentored by Ace Photographer
Karthik Srinivasan

Mentored by Ace Photographer
Karthik Srinivasan
Mentored by Ace Photographer

Mentored by Ace Photographer
Mentored by Ace Photographer
Mentored by Ace Photographer
Posted on: June 22, 2017 at 3:18 am


If you didn’t already know this, Pinhole photography is how the medium first started…a pinhole, when fine enough acts like a lens! Making your own pin hole lens is really very simple – using it can take a little calculations. We’ll take you through both…
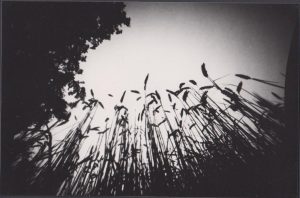
Above image by Graham Carter from http://www.pinhole.org/
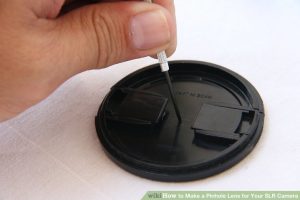
Making the Pinhole Lens – All you need is an extra body cap. You make a hole right in the center of the cap, attach kitchen foil on the hole, and use a syringe to make a clean and sharp hole in the foil. Do this in one quick motion to leave a razor sharp hole. The finer the hole, the finer your lens! You’d need to make a note of the syringe needle diameter, for further calculations in the next step. Well, thats it! Your pinhole lens in ready!
Calculating Exposures with your Pinhole Lens – To calculate exposures using the pin hole lens, you first need to arrive at its aperture value. Use this simple formula –
Aperture = Focal Length/Diameter
You already have the diameter of the pin hole from the syringe packaging. While we do not have a focal length for the pin hole, we use the flange distance (distance from camera sensor to lens) as a focal length for our calculations. A quick google search can give you this number. For example, the flange focal distance on SONY E mount cameras is 18mm. Now lets say we used a needle of outer diameter 0.2 mm. Then the aperture value would be –
18/.2 = f 90
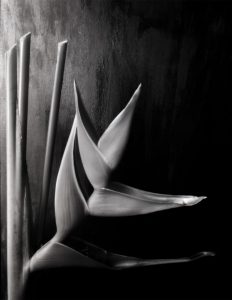
You can make different ‘apertures’ by using needles of different diameter or gauge. Needless to say, the pin hole lens requires long exposures. It is best suited to landscapes. Remember, the finer the pin hole, the sharper your images…take a look at a fine pin hole image by Ale Paulin from http://www.pinhole.org/