
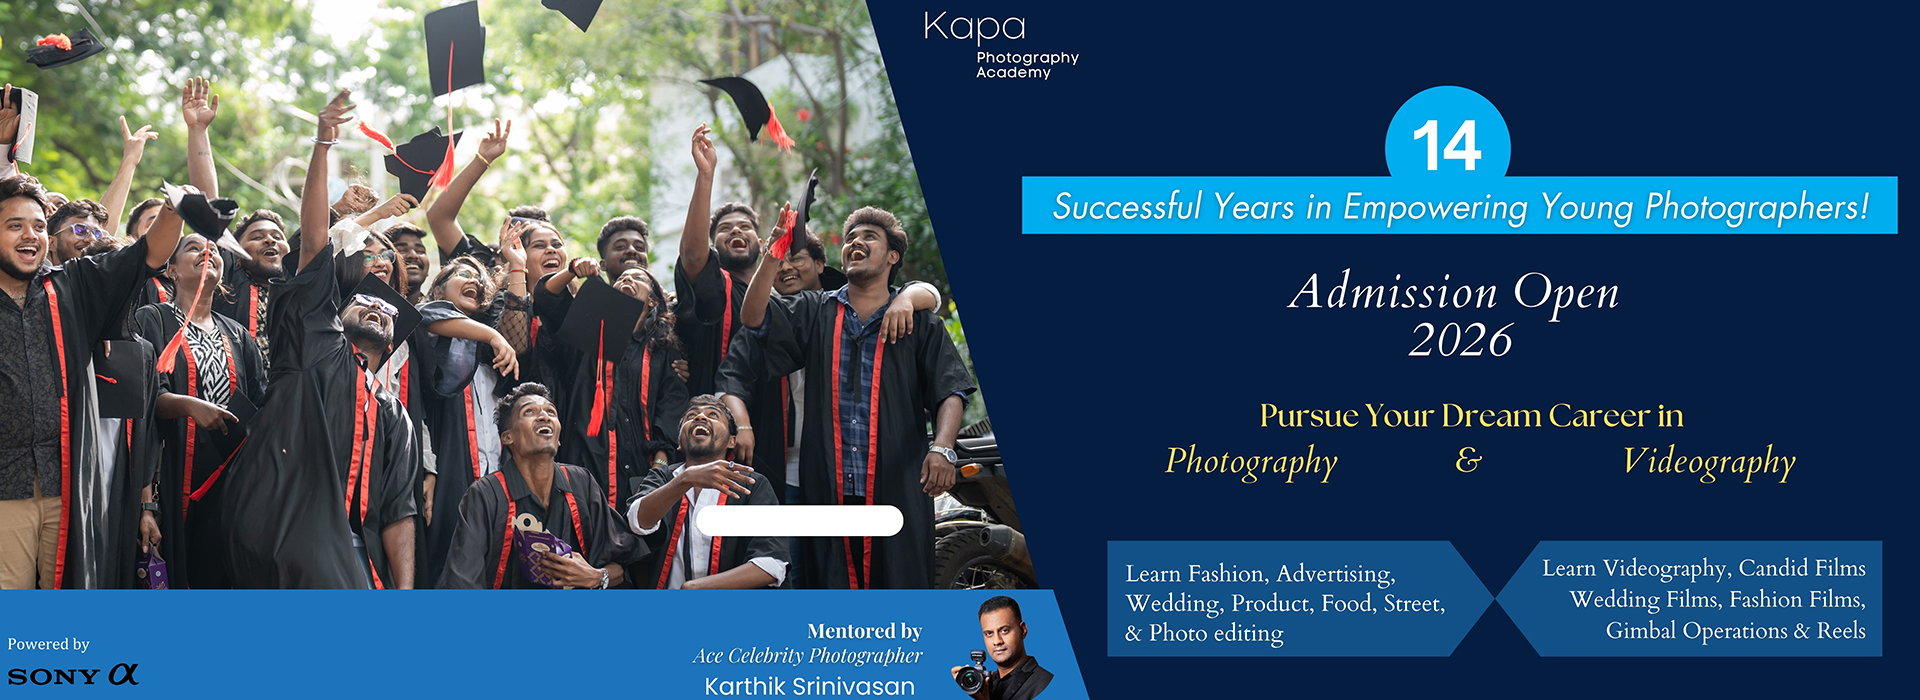
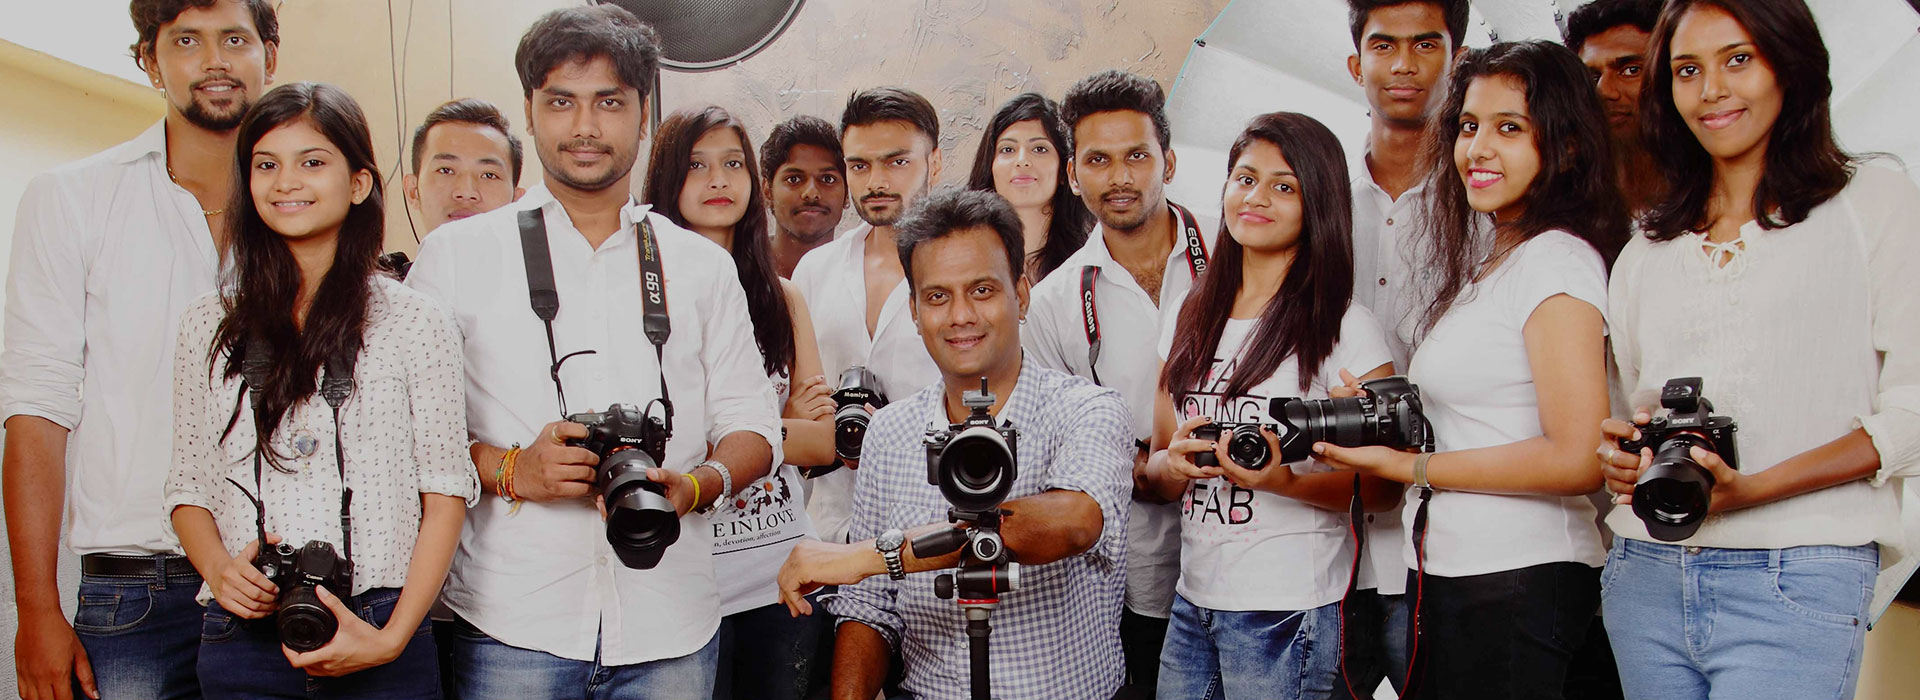
Mentored by Ace Photographer
Karthik Srinivasan
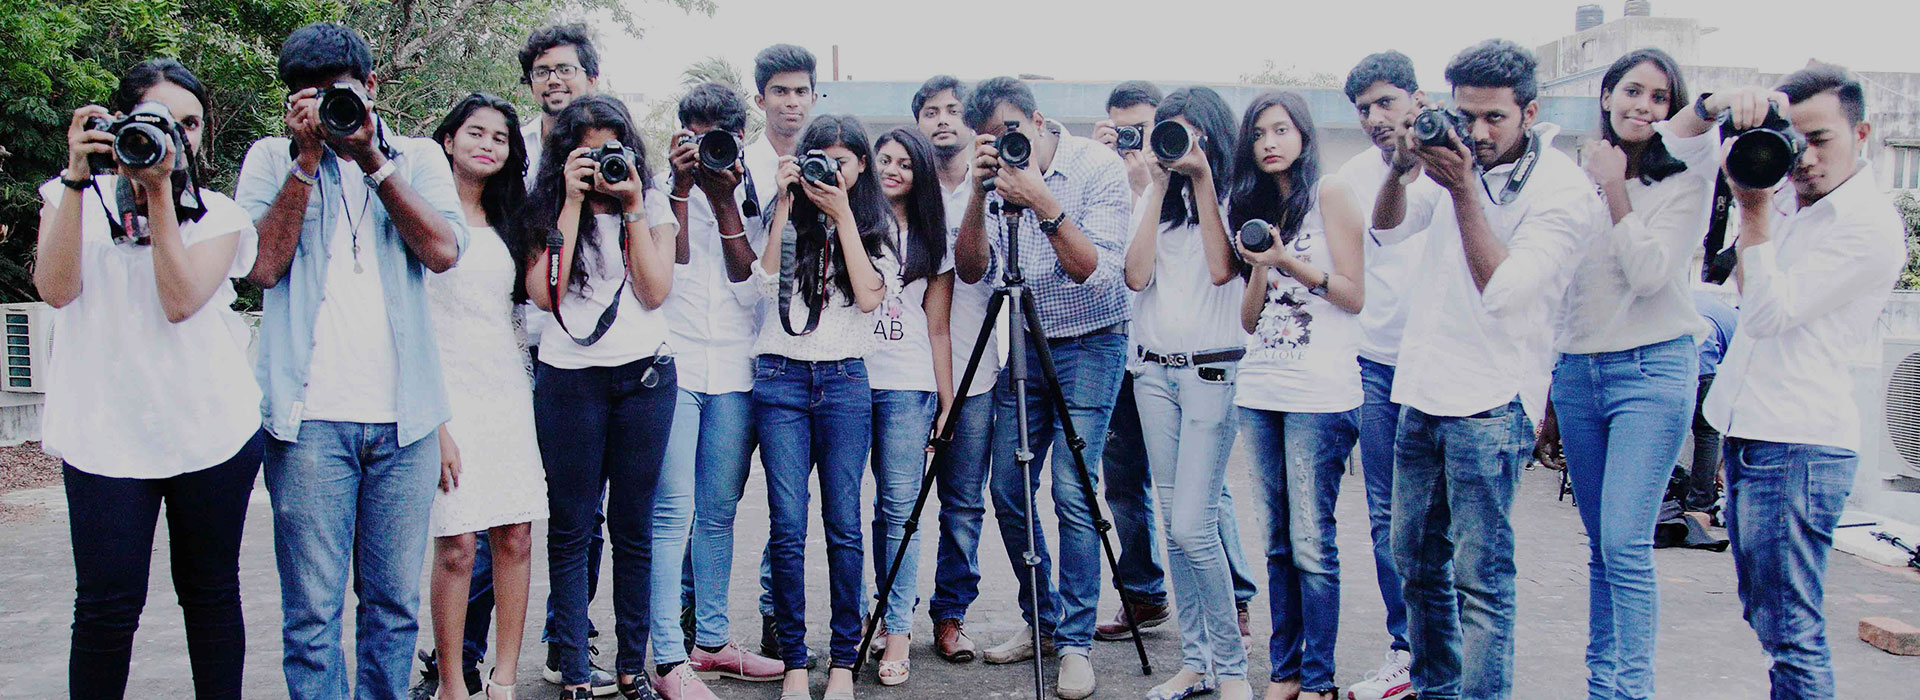
Mentored by Ace Photographer
Karthik Srinivasan
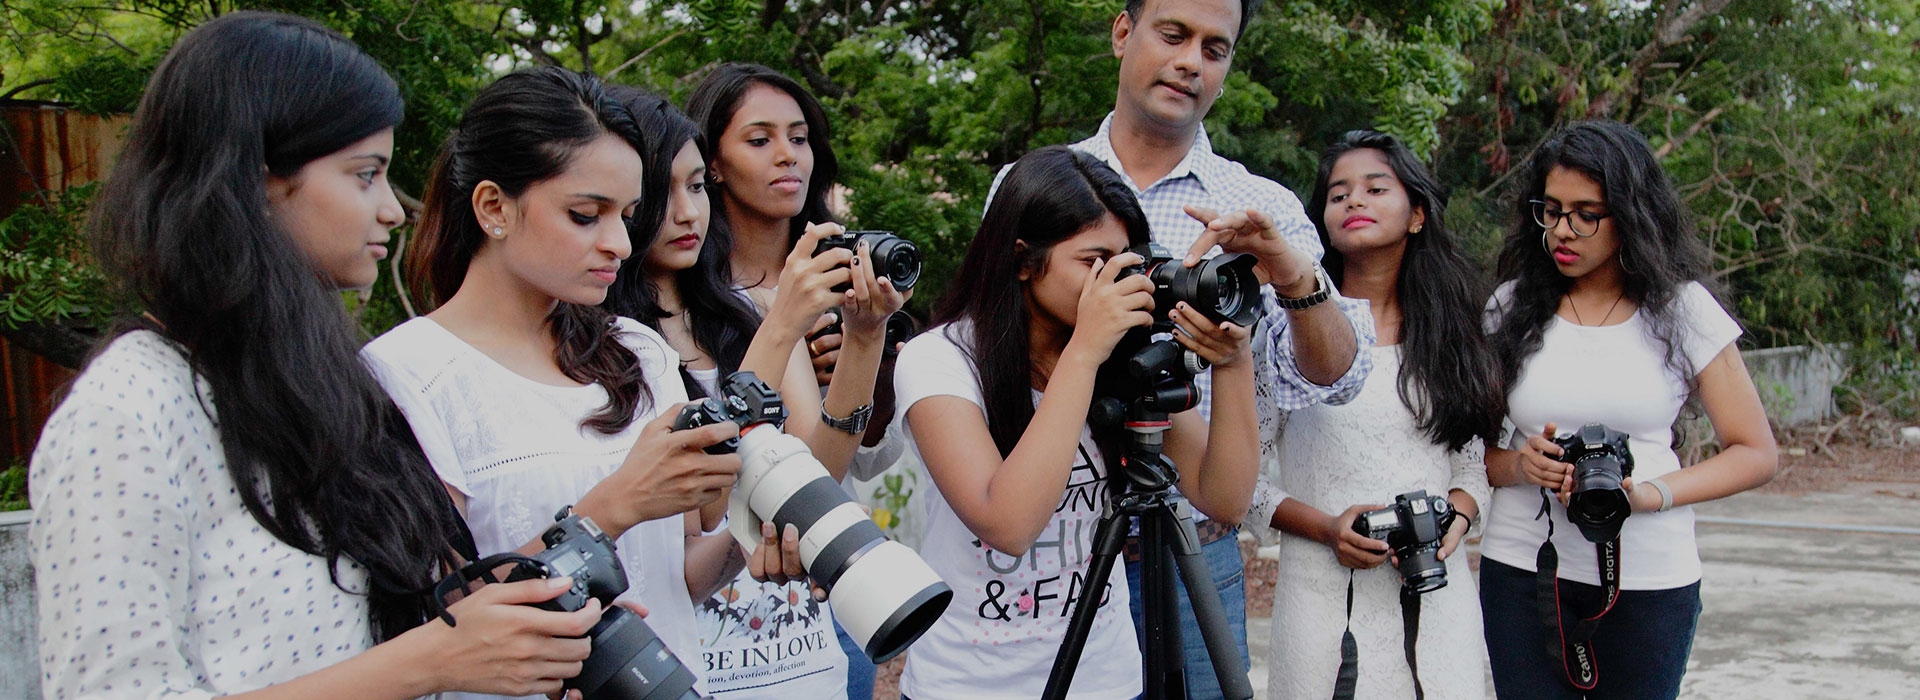
Mentored by Ace Photographer

Mentored by Ace Photographer
Mentored by Ace Photographer
Mentored by Ace Photographer
Posted on: May 19, 2017 at 6:22 am


In the most basic sense of the portrait making process, we are trying to portray a 3 dimensional subject on a 2 dimensional medium (the computer screen or print). How we do this successfully depends mostly on the lighting that we use.
Imagine a piece of paper with a circle drawn on it – a viewer obviously look at it as a circle. BUT if you shade it from light to dark in varying degrees, it is then called a sphere because it depicts the third dimension on a 2D medium. Similarly, to make effective portraits you need to use soft, directional light with some amount of shadows to give ‘modelling’ effects. Apart from this, it is a good idea to create some separation from model and background by using shallow depth of field as well as lighting the 2, separately. The light on the model could be independent of the light on the background, creating a further sense of space, or 3rd dimension.
You can further add a special touch by secondary light sources such as a hair light that adds accents to the model’s hair. This can be controlled in the studio using a snoot or a grid attachment. Also, highlights can be added to the edge of the model’s body as with this image of model Pradhayini shot by Karthik Srinivasan. Notice the subtle highlights on the hair and shoulder added with secondary light sources.