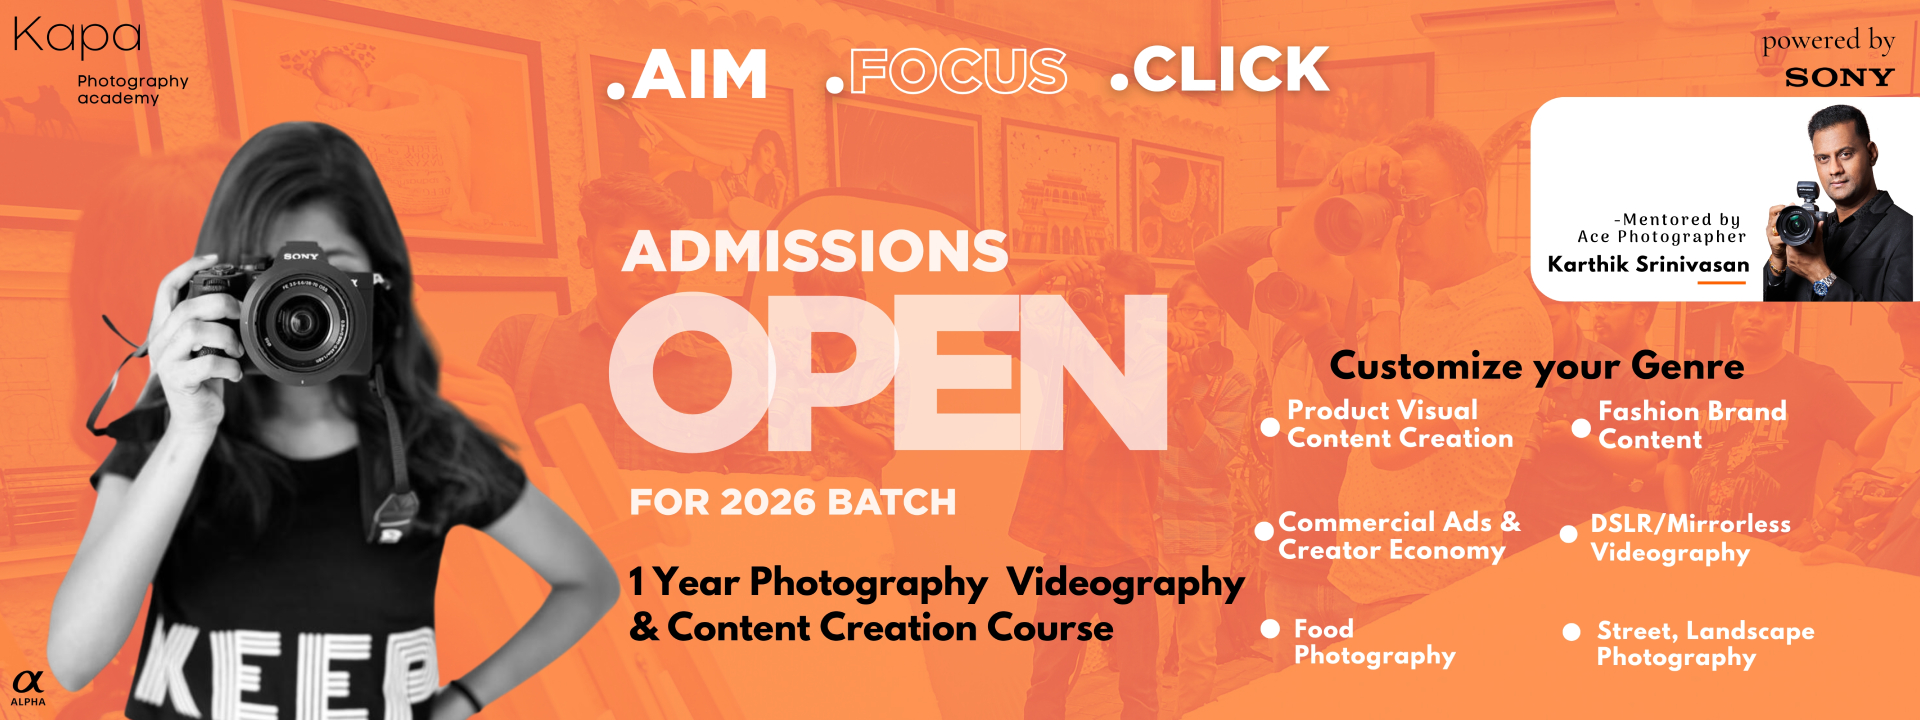
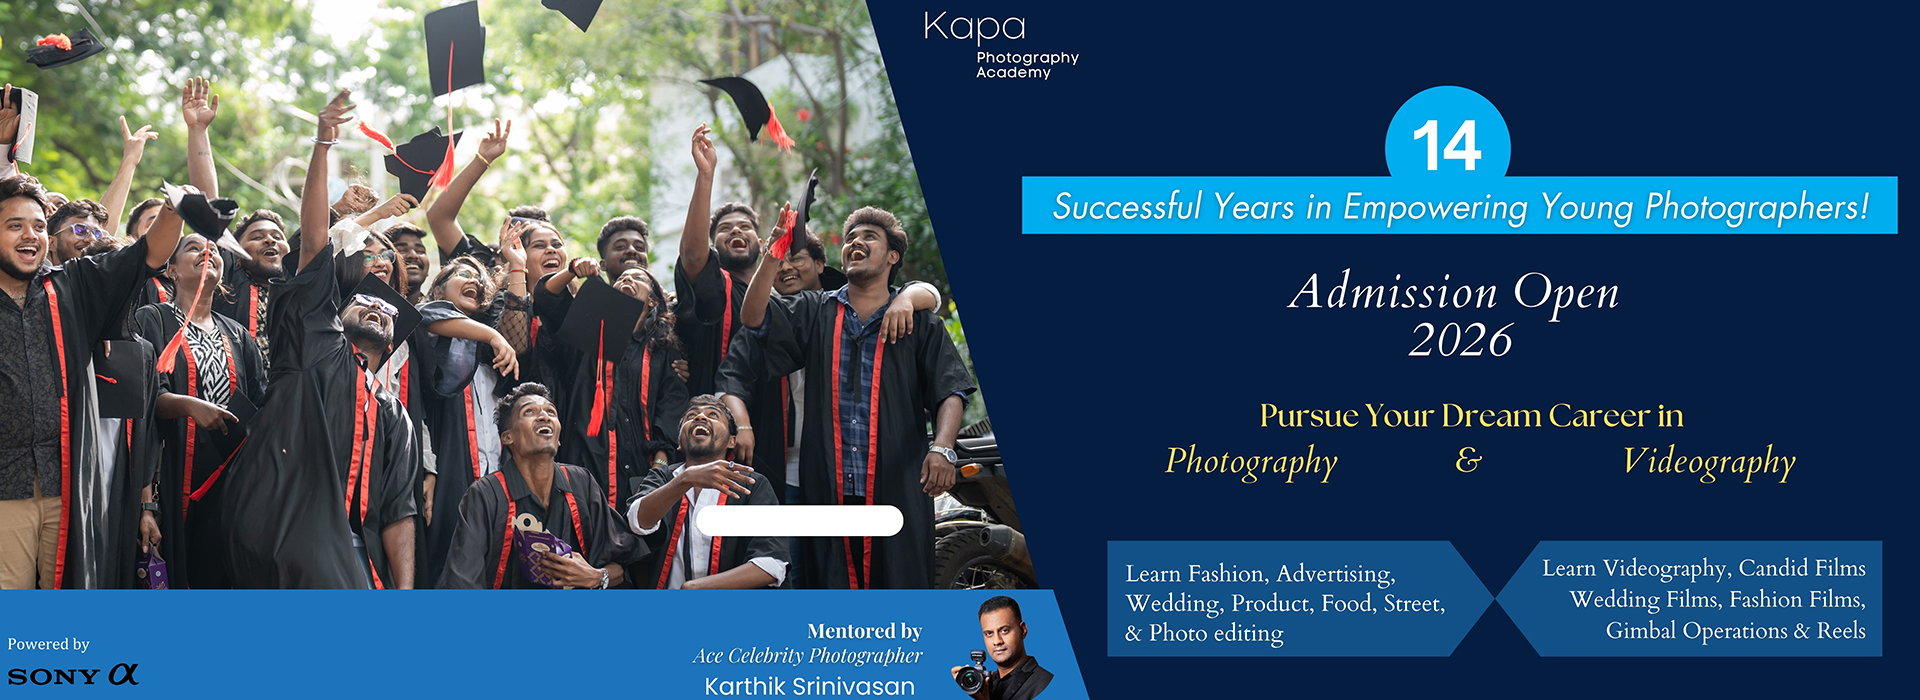
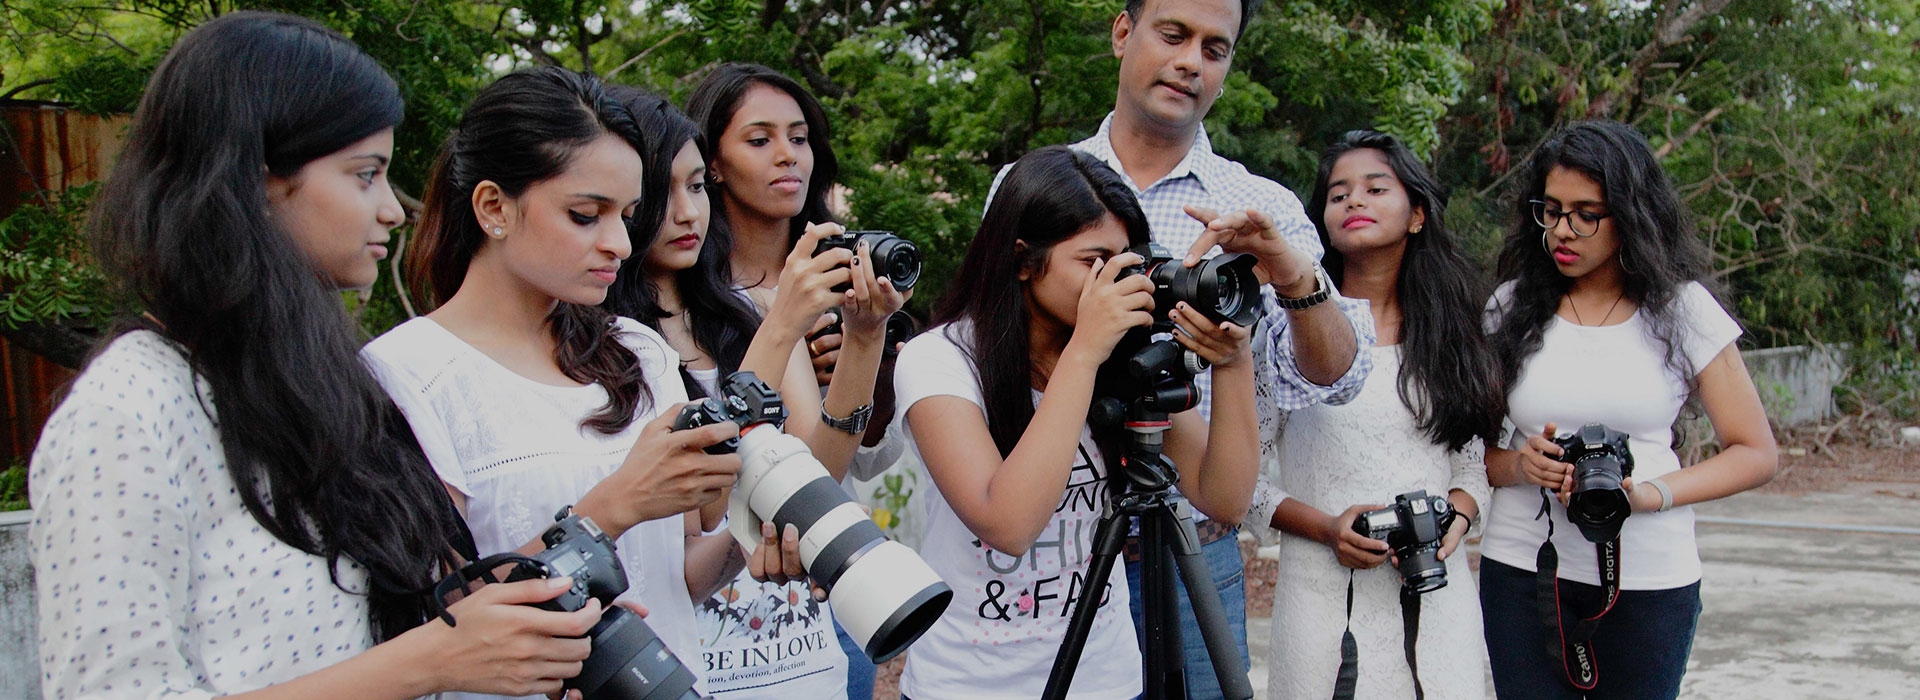
Mentored by Ace Photographer
Karthik Srinivasan
Mentored by Ace Photographer
Karthik Srinivasan
Mentored by Ace Photographer

Mentored by Ace Photographer
Mentored by Ace Photographer
Mentored by Ace Photographer
Posted on: June 1, 2017 at 4:54 am


Photography is no doubt one of the most creative career or hobby choices, and you can more or less let your personality shine through in the images that you make. There is very little you’d need to ‘memorize’ to get your pictures right, but there is a little! The exposure scale is something that you needs to become second nature to a photographer, and there are no two ways about this – you need to remember these numbers!
The exposure scale is to photography what the alphabets are to a writer. These are the tools you use to creatively manipulate your exposures. If you’ve ever observed a professional photo shoot, you may have heard numbers that sound like Greek, unless you are aware of the exposure values. ‘half stop down’, 2.8 and third, ambient 1/100…while all this may sound complicated at first, once you understand the exposure scale you’d see how simple it can really be.
If you want to start using your camera creatively (read manual mode), the first thing you need to learn is how the three basic settings of aperture, shutter speed and ISO can be used in different combinations to allow the same amount of light on the sensor. each control of course has a side effect of motion blur (shutter speed), depth of field (aperture) and image noise (ISO), which is where you need to prioritize one over the other. The below scale should give you an insight, and these are numbers you simply need to know, period!
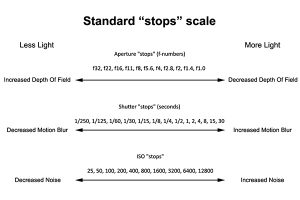
Think of each of these scales as ‘movable’ in one sense. For example, imagine your meter is giving you a green at f11, 1/30 and ISO 400. If you wanted to shoot at f 5.6 (two stops up) instead, all you have to do is move the shutter speed two stops down to 1/125, keeping ISO constant at 400. Try and calculate various combinations in your head – when shooting in a real life scenario, you probably wont have the time to think more than a few seconds!
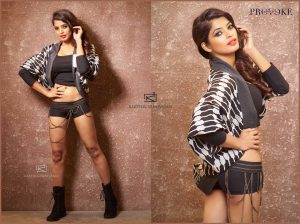
Check out the image of model Sanchita Shetty photographed by Karthik Srinivasan using a SONY Alpha 7 R II, set to 1/125sec, f/11, ISO 200. If the same shot was to be executed at f8, the ISO would need to be changed to ISO 100. Shooting with flash lights of course kills out most if not all ambient light, so we have just 2 values to work with in terms of camera settings – the aperture and ISO. However, in the studio you also have your light intensity to increase or decrease aperture.